And what does the Lord require of you but to do justly, and to love kindness
and mercy, and to humble yourself and walk humbly with your God? (Micah 6:8)

Friday, June 27, 2014

Sweet 'n Sassy Stamps June 2014 Release

Welcome to Sweet 'n Sassy Stamps June 2014 Release. We have a small release to share with you today…just two stamp sets and a die set, but what fabulous and versatile stamp sets they are.  The DT has been having a lot of fun with these sets as you will see as you hop along to each of their blogs.


It wouldn't be a Sweet 'n Sassy Stamps Release without fun prizes and a challenge so here are the details:

~One random commenter from one of the DT blogs will be selected to win a $10 Gift Code to be used at the Sweet 'n Sassy Stamps Store.  You have until Thursday, July 3rd at midnight EST to leave your comments.  The winner will be posted on the Sweet 'n Sassy Stamps Blog on Friday, July 4th!

~ Our Release Challenge this week is: "Anything Goes!"  You have until Thursday, July 3rd at midnight EST to enter.  One winner will be randomly selected to receive a $20 Gift Code to be used at the Sweet 'n Sassy Stamps Store.  If we have 50 participants (not including the DT), 2 winners will be selected to each receive a $20 Gift Code, so invite your friends to play along!  The winner (or winners) will be posted on the Sweet 'n Sassy Stamps Blog on Friday, July 4th. 

(Guidelines for the challenge are listed below!)

 Now, on to the Release!
First up…What's Up! and Arrow Dies

  • Stamp set includes 8 images and 14 Sentiments
  • Set measures approximately 4" x 6"
  • The segmented arrow measures approximately 1 7/8" x 3/4" 
  • Designed by Korin Sutherland
  • Stamp set price is $15
  • Die set includes 15 arrow dies
  • Coordinating die set price is $16.75
You'll love playing with these fun images and combining the 14 different sentiments to make your card say just the right thing!  The best part is the die set includes a die to coordinate with each of the arrow images AND smaller nested arrows making it a snap to add an arrow to any card creation!

And next…Birthday Word Art
  • Stamp set includes 13 large sentiments
  • Set measures approximately 6" x 8"
  • The row of numbers measures approximately 4 1/8" x 5/8" 
  • Designed by Gloria Stengel
  • Stamp set price is $26
These 13 large sentiments are fabulous for making birthday cards for anyone, and the row of numbers is perfect for making a background!

Here are two cards made with the stamp sets from our June release:
Creative Nugget:  Three different colors of distress inks were rubbed onto the label side of a chevron embossing folder and spritzed with water.  A piece of mixed media paper was placed between the embossing folder and the ink was rubbed onto the panel to create the background.  The Majestic Monarchs were colored with the same colors of distress inks and cut with the Monarch Dies.  Arrows and sentiments from the What's Up! stamp set were added along with a few sequins and rhinestones to finish the card.

Creative Nugget:  This card was inspired by an On Line Class taught by Jennifer McGuire.  The Majestic Monarchs were white embossed on a piece of Solar Crest card stock.  Sections of the background were masked and sponged with Memento inks.  The number strip from the Birthday Word Art set and the Music Background were lightly stamped in more neutral colors over the embossed panel.  A paper towel was used to remove the ink from the embossed images.  A frame was made using Spellbinder dies.  The sentiment was white embossed and attached with glue dots under the rhinestones, hiding the adhesive.  More gem stones were added to finish the card.  I will be using this card for a birthday card, but it could very easily be used for any occasion!

Before I let you go, don't forget about our release day challenge and chance to win a $20 store gift code!

Our challenge is "Anything Goes!"  Just add your card to the gallery using the linky tool below.  To be eligible for the prize, we ask that you create a new card (no back linking, please) and enter your card in no more than 3 challenges.  

Just a few guidelines to remember as you play:
            
- You don't have to use a Sweet 'n Sassy Stamps image to enter (although we sure love when you do!)
 - You'll have until Thursday, July 3rd at midnight EST to enter

- We'll draw 1 winner from this week's challenge to receive a $20 credit to Sweet 'n Sassy Stamps!  
If there are 50 participants, (not including the DT), we'll draw 2 winners!
- Please use code SNSJRC14 when uploading to Splitcoaststampers or other galleries 

To enter simply share a link to your creation below.

Thanks for joining us today!  Enjoy the hop and have a wonderful day!


Hugs,
Cathymac

Thursday, June 26, 2014

Have a Colorful Day!

Hello friends…I have a quick colorful card to share with you today!  I've been having fun dabbling in Mixed Media lately and today's Ways to Use It 485 Challenge on Splitcoaststampers was a perfect opportunity to play with crayons, sprays, and stencils.  It's been a L-O-N-G time since I've colored up a Cocoa image, but Colorful Cocoa was perfect for the challenge as Toni wanted us to use crayons.

Creative Nugget: Crayons and an iron were used to make the large background.  Different colors were scribbled on the bottom of an old, hot iron, one at a time, and smeared on a mixed media panel. The vertical panel was stamped in a favorite Sweet 'n Sassy Stamps set called Grunge Elements using different colors of Memento inks.  Dylusions sprays were used to make the horizontal panel.  Water misted through a stencil helped to create some texture on this piece.  Cocoa was colored with Copics and cut with a Spellbinders Classic Circle Nestie and mounted on a Scalloped Circle Nestie.  Finally, the sentiment was stamped on a hand cut banner, and a button and thread added to finish the card!

Here are the FUN stamp sets from Sweet 'n Sassy Stamps 
that were used to make this card:

That's all for today!  Hope you've enjoyed your visit!  Stop back again tomorrow to see some new stamp sets being released by Sweet 'n Sassy Stamps!

Have a colorful day!

Hugs,
Cathymac

Friday, June 20, 2014

Taking a Look Back at ODBD June Release

Hello friends!  Today we are taking a look back at Our Daily Bread Designs June Release where everything is coming up roses, and iris, and foxgloves, and cherry blossoms, and asters!
Here is the Iris creation I've made for you today:

Creative Nugget:  I love the way this card turned out.  I started by applying Mowed Lawn, Peacock Feathers, and Dusty Concord Distress inks directly to the inside label side of a Brocade embossing folder and spritzing it with water.  A piece of mixed media paper was pressed inside, but not embossed.  The extra moisture was dabbed away with a paper towel.  The background panel created was too pretty to completely cover with the Vintage Flourish Pattern Die, so part of it was cut away and a Beautiful Border die was stitched to the side.  This whole panel was then stitched to Winter Wisteria card stock and mounted to a Solar Crest card base.  The Iris was stamped, colored with Copic Markers, and cut with the label included in the Vintage Flourish Pattern Die Set.  The label die was cut again from Winter Wisteria, cut down the middle, and used to matt the iris.  The sentiment was stamped on a hand cut banner and some seam binding was used to finish the card.  

Here are the supplies available from the 
to create this sample:

For more inspiration using the June Release be sure to visit the Our Daily Bread Designs Blog.  Hop to each of the DT blogs to get more details on each card creation.  The links are provided below for your viewing convenience!

Grace * Sandee * Stacy * Dawn * Lori 
  Julie * Sabrina * Wanda * Chris

As always…thanks so much for stopping by!  Take some time to smell the roses, and have a wonderful day!

Hugs,
Cathymac

Friday, June 13, 2014

A Rose is a Rose

Hello friends!  I have another quick card to share with you today.  Anna challenged us to heat it up for the Mix-Ability Challenge today on Splitcoaststampers.  My card was heated up in two different ways…with a heat tool and an iron!
Creative Nugget:  Gesso and distress inks were used to age the beautiful Blushing Rose Collection papers to create the background for this card.  After  wrinkling and distressing the panels, an iron was used to flatten them out a bit so they could be stitched to a Vintage Cream card base.  This Whitewash Chic technique can be found on the new Artistic Effects CD by Technique Junkies. The Rose image, from this month's release by Our Daily Bread Designs, was stamped in brown ink on Mixed Media paper and again, using a stamp positioner, in VersaMark ink so it could be clear embossed.  The same was done with the sentiment from the Rose stamp set.  Distress inks were used to watercolor the roses.  The image was cut and matted using a Vintage Flourish Pattern Die.  Pearls and seam binding were added to complete the vintage chic look.

Here are the supplies from the 
Our Daily Bread Store that were used to create this card:

I realized after finishing my card that it also fit a number of other challenges…something I rarely do!  Here they are:

Seize the Sketch Challenge: STS#22
Our Daily Bread Designs Shining the Light Challenge: ODBDSLC206 Use Tan, Pink, and Ivory
Word Art Wednesday: Challenge#136-Anything Goes
Lisa's Bloggers Challenge : Flowers

As always…I appreciate the time you took to stop by!  Have a wonderful day!

Hugs,
Cathymac


Thursday, June 12, 2014

Sunny Asters

Hello friends!  Just a quick post today with a sunny card to brighten your day!  Last Thursday the Ways to Use It Challenge on Splitcoaststampers was to use a sun on your card.  This was my entry for the challenge:
Creative Nugget: The Tim Holtz rays stencil was used to sponge distress ink on the sun rays behind the asters.  An Anna Griffin embossing folder was used to create the texture on the horizontal panel.  The Our Daily Bread Designs Custom Asters and Leaves Dies were used to cut the flowers from Plum Pudding card stock and some gorgeous paper from the Blooming Garden Collection. The Asters were mounted on a Fancy Foliage die cut and the centers covered with Glossy Accents and micro beads.  The sentiment, from the Iris stamp set, was stamped on a Spellbinders banner and added to the card along with some stitching and Baker's twine. 


Several new supplies from Our Daily Bread Designs last release were used to create this birthday card...

Along with some old favorites!

Thanks so much for stopping by…I hope you've been inspired by your visit!

Hugs,
Cathymac

Sunday, June 1, 2014

ODBD June Release

Our Daily Bread Designs has done it again!  If you love flowers you will be in love with the new flower sets being released this month.  You will see gorgeous Roses, Cherry Blossoms, Iris, and Asters as you visit the blogs of the talented design team.

Three winners will be randomly chosen from the comments left on the designers' blogs to receive a $15 Gift Certificate to the ODBD Store to be used toward the purchase of ODBD stamps.  You have until June 2, 2014 at 9:00 p.m. EDT to leave your comments!  The winners will be posted on the ODBD Blog on June 3rd, so be sure to check back there to see if you won!


For my first sample, I used the gorgeous new Cherry Blossom stamp set.
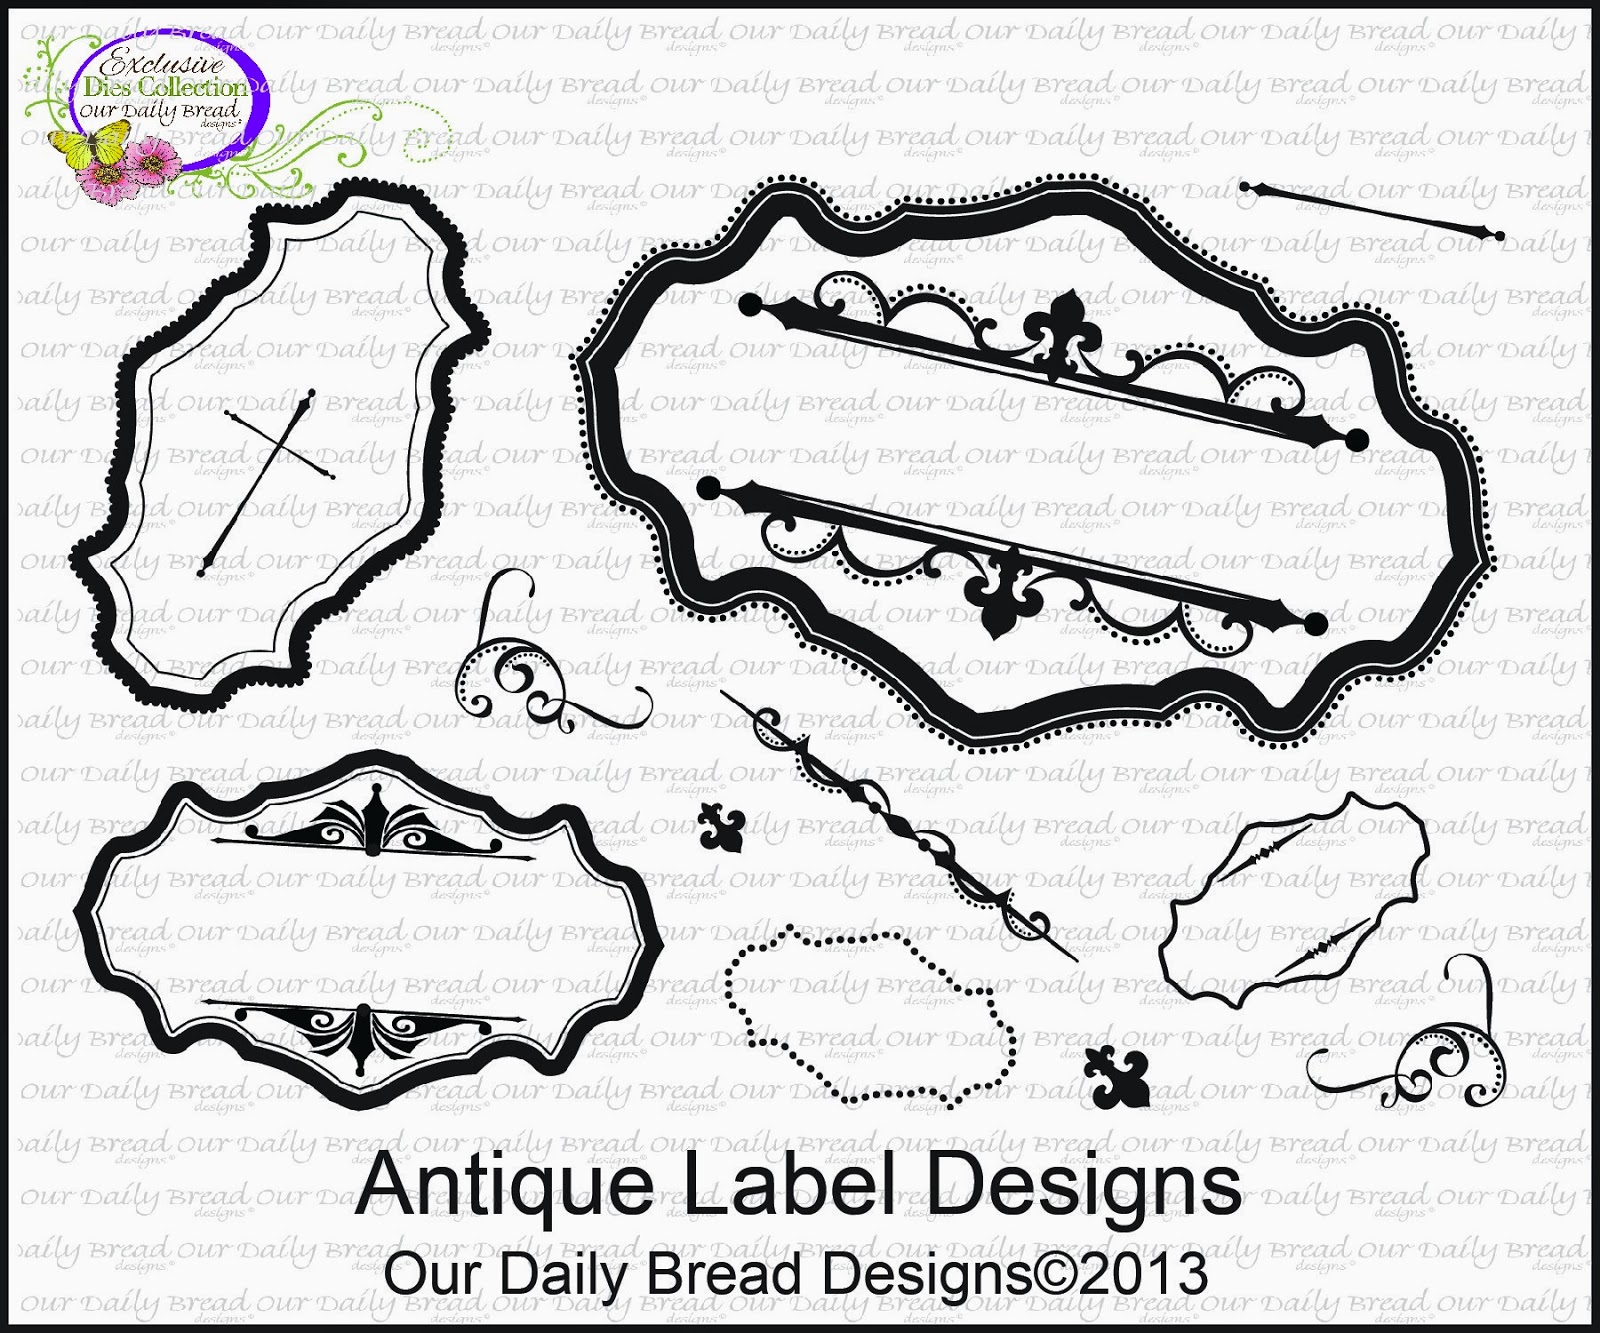
Creative Nugget:  Beautiful papers from the new Blushing Rose Paper Collection and an Antique Border Die were used to create a room for the card front.  The Cherry Blossoms were stamped twice, colored with Copic Markers, and cut to fit behind the ODBD Custom Window Die.  A frame from the Antique Label Designs stamp set was stamped onto an Antique Label Die.  The sentiment from the Cherry Blossom set was stamped onto the label and attached to the card with some seam binding and a bow to finish the card.

My second card was made with the new Asters and Leaves Dies.
Creative Nugget:  A panel from the Blushing Rose Paper Collection was stitched to Melon Berry paper and added to the Vintage Cream card front.  A Beautiful Border Die was cut from coordinating paper from the same paper collection and attached to an embossed strip of Melon Berry card stock.  Seam binding was added before the card front was attached to the base.  All three of the Aster dies were cut from Vintage Cream paper, sponged with Brushed Corduroy Distress Ink, and layered with foam tape for dimension.  The leaves and the flower center were cut from the DP.  A Fancy Foliage Die was tucked in around the leaves.  The sentiment from the Rose Mini Set was cut with an oval punch and attached to the Vintage Flourish Pattern Die.  A bow and pearls finish the card.

Here are the new products from the 
Our Daily Bread Designs Store used to make my samples:
And here are some old favorites from the 
Our Daily Bread Designs Store that were also used:
To see all the gorgeous samples made from this release, hop on over to the Our Daily Bread Designs Blog.  Then click the links below to visit each of the talented designers for the details.

Grace * Sandee * Stacy * Dawn * Lori * Cathy * Julie  
Sabrina * Angie * LisaSilke * Audrey * Wanda

Hope you've been inspired by your visit…
have a wonderful day!

Hugs,
Cathymac