Monday, July 21, 2014

Scoring at the Beach

Hello friends!  Since it's a little dreary here this morning, I thought I would try to get in a quick card before starting my errands for the day!  Naturally, I checked out several challenges to jump start my creativity.  Here's what I came up with:

Creative Nugget:  Sponging inside a circle mask was used to create the background for this tropical scene.  The island image from one of my favorite Sweet 'n Sassy stamp sets, Landscape Silhouettes, was stamped in Versafine Onyx Black.  Piercing around the circle helps to define it.  A few shells from Beauty by the Sea were colored with Copic Markers and covered with a thin coating of Glossy Accents.  They were then fussy cut and popped onto the card.  Some scoring was done…since that was one of the challenges…and pearls and a sentiment banner were added to finish the card!  This card was easy enough to make, so it will be reproduced and given to my VBS craft team, which was such a blessing to me last week during our church's VBS!

This card was created for the following challenges:


CAS(E) this Sketch! #85


Splitcoaststampers TLC 491 - Scoring
Splitcoaststampers CAS282 - A Day at the Beach

Thanks so much for stopping by…hope you've been inspired!

Hugs,
Cathymac

Friday, July 18, 2014

Taking a Look Back at ODBD July Release

Hello friends!  Today we are taking a look back at Our Daily Bread Designs July Release.  I've been having so much fun with the pennant stamps and dies from this release!  For my pennant sample today I used a Double Display Card now available in packs of 6 at the Our Daily Bread Designs Store.

Here is the card closed:
Creative Nugget:  Green card stock and DP from the Blooming Garden Paper Collection were layered on each of the card panels. Since I wanted the pennants to face in, the border was stamped with the Pennant Alphabet and the little letters from the Pennant Swag Alphabet were punched with a 1/4" circle punch and layered on top.  The pennants and the green mats were cut with the matching Pennant Dies.  The Zinnia was cut with the Zinnia and Leaves Dies and was colored with distress inks.  Some Fancy Foliage die cuts were also added to complete the from of the card.

And here is the card opened up:
The Vintage Label Die cut was stamped with the Honeycomb Mini and layered onto a green mat.  Copic Markers were used to color the flower pot and tools from The Good Seed stamp set which was then fussy cut and popped up on the card.  The sentiment from the Be Joyful stamp set was mounted on a Vintage Flourish Pattern die cut.  The birthday pennant from the Pennant Swag 2 stamp set was cut with the matching Pennant Swag Die and hung across the top of the panel.  A few bees from the Zinnia stamp set were added to complete the garden theme of the card.  

Here are the new and some old favorite supplies from the 
Our Daily Bread Designs Store that were used to create this birthday card:


For more inspiration using the July Release be sure to visit the ODBD Blog to see what the talented Breadsticks have created.  Click on the links below to get more details about each card.

Julie * Grace * Lori * Cathy (me) * Chris * Sandy  
Dawn * Paula * Wanda * Silke * Stacy * Angie 


Thanks so much for stopping by today.  I hope you've been inspired by your visit!

Hugs,
Cathymac

Wednesday, July 16, 2014

Precious Poppies and a Sketch

Hello, everyone in Blogger Land!  When I saw the sketch on Splitcoaststampers this morning, I thought I would play along.  Ally's sketch was perfect for Sweet 'n Sassy Stamps' Precious Poppies clear stamp set!
Creative Nugget:  I thought it would be fun to have each layer grow in color intensity so the large Poppy image from the set was stamped on the card after stamping off once.  The only color on this layer is clear Wink of Stella.  After masking off an area for the sentiment, the medium poppy image was stamped several times full strength on the second layer.  Gray Copic Markers and Wink of Stella were used to color this layer.  Finally, the large poppy image was stamped and fully colored with Copic Markers and Wink of Stella.  The card really shimmers in real life, but does not show up well in the photo. Some black micro beads and a seam binding bow were added to finish the card!

That's all for today…hope you were inspired by your visit!

Hugs,
Cathymac

Sunday, July 13, 2014

Texture in Nature

Hello Blogger friends!  Happy Sunday!  Today is my turn to post on the Sweet 'n Sassy Stamps Blog, so I though I would share a few cards here as well.

The other evening I drove to church in a drenching rain, but the sun was shining, so naturally when I arrived, I looked for a rainbow.  I wasn't disappointed!  Though faint, it was still there.  After church, I came out to see the most gorgeous sky…the different blend of blues and pinks, including the most beautiful turquoise color, was amazing.  I had to stop and thank the Lord for creating such beauty for us to enjoy! This prompted me to grab some of Sweet 'n Sassy Stamps' Nature Silhouette sets and do some creating of my own.

Creative Nugget:  The background for the first card was made by wadding up a piece of wax paper and using it to dap VersaMark ink on a piece of mixed media paper.  This was clear embossed. The panel was then dragged through puddles of distress inks on my craft sheet.  Another piece of paper was used to dab up the remaining ink on the craft sheet to create the panel behind the Cattails die cut.  The embossing was ironed off to remove the glossy look and to allow the sentiment from the Script Birthdays set to be stamped on the card.  Texture paste was added to the fishtail banner through a TH Burlap stencil.  Some jute thread and a button were added to finish the card.

Creative Nugget:  The same background techniques were used for this card.  Water was spritzed through a dotted stencil to remove some of the ink on the large background.  This was overstamped using the same colors of distress inks on the Delightfully Delicate Background.  A stencil and modeling paste were used to add the butterfly.  The embossing on the smaller panel was again ironed off so the Nature Silhouette image could be stamped.  Globs of hot glue, inspired by Karen Dunbrook, were added for more texture.  The sentiment is from the God is Bigger stamp set.  Felt and burlap flags and a button finish the card.

This card will also be entered in the Word Art Wednesday Challenge this week:
Challenge #140 - Anything Goes

Hope these cards have inspired you to add a little texture to your card creations, and while you are at it, take some time to enjoy the colors and textures in nature…God's gorgeous creation!

Thanks so much for stopping by…enjoy your day!

Hugs,
Cathymac

Friday, July 11, 2014

SNSS Christmas in July Release

Hello, Sweet 'n Sassy  friends!  Welcome to our July 2014 Release!  Are you ready for a little Christmas in July?  I love the opportunity to get a jump start on making my Christmas cards for the year, and with this release you'll have the chance to do just that!  Today we're releasing one wonderful image set and two fabulous sentiment sets that not only look great on the outside of the card, but are perfect for finishing up the inside of the card as well!

As always Sweet 'n Sassy Stamps has some wonderful prizes and another  Release Day Challenge for you!

~One random commenter from one of the DT blogs will be selected to win a $10 Gift Code to be used at the Sweet 'n Sassy Stamps Store.  You have until Thursday, July 17th at midnight EST to leave your comments.  The winner will be posted on the Sweet 'n Sassy Stamps Blog on Friday, July 18th. 


~ Our Release Challenge this week is: "Christmas in July"  You have until Thursday, July 17th at midnight EST to enter.  One winner will be randomly selected to receive a $20 Gift Code to be used at the Sweet 'n Sassy Stamps Store.  If we have 50 participants (not including the DT), 2 winners will be selected to each receive a $20 Gift Code, so invite your friends to play along!  The winner (or winners) will be posted on the Sweet 'n Sassy Stamps Blog on Friday, July 18th. 
(Guidelines for the challenge are listed below!)

 Now, for the Release!
First up…Christmas Morn

  • Stamp set includes 7 images and 9 Sentiments
  • Set measures approximately 4" x 6"
  • The Christmas tree image measures approximately 3 1/4" x 2 1/4" 
  • Designed by Korin Sutherland
  • Stamp set price is $15
Whether your style is Clean and Simple, Vintage, elegant or cutesy, you'll love mixing and matching the images and sentiments in this stamp set to create the perfect Christmas cards for your family and friends!

Next is Jesus is Born
  • Stamp set includes 15 sentiments
  • Set measures approximately 6" x 4"
  • The "Joy to the World" sentiment measures approximately 1 1/4" x 1 3/8"
  • Designed by Korin Sutherland
  • Stamp set price is $15
These 15 sentiments are perfect for proclaiming Jesus, the real reason for the season!

And FinallyChristmas Innies
  • Stamp set includes 6 sentiments
  • Set measures approximately 6" x 4"
  • The longest sentiment measures approximately 3 1/4" x 1 1/4" 
  • Designed by Korin Sutherland
  • Stamp set price is $15
Here are the cards I made with these wonderful Christmas stamp sets…
First ~ Christmas Morn:
Creative Nugget:  This modified tri-fold has a window through all the layers so you can see the Christmas Tree from the Christmas Morn clear stamp set which was stamped in Fern Green Archival ink on the last panel.  A Christmas tree must have decorations so sequins and gem stones were added to finish the card.

Here is the middle panel.
And here it is opened the whole way.


Next: Jesus is Born:
Creative Nugget:  The Light of Christmas Background was stamped on a piece of Vintage Cream card stock and cut with the Birch Forest die.  This was mounted on a piece of Soft Sky card stock.  A torn piece of Solar Crest was embossed with Swiss Dots and attached to the bottom for the snow drift.  The deer and birds from the Tender Thoughts stamp set were cut with the matching dies from the Birch Forest Die Set and added to the scene.  Finally splatters of watered down acrylic paint and Baker's twine were added to finish the card.  The sentiment from the Jesus is Born stamp set was perfect for this winter scene!

My last card is from the new Christmas Innies stamp set:
Creative Nugget: The background for this card was made by embossing the Leafy Flourish Background with Sparkle Embossing Powder.  The Season of Love silhouette was framed with Pool Party card stock and mounted to the card.  The sentiment from Christmas Innies…yes, they are wonderful for the outside of your cards as well…was framed and mounted to a fishtail banner.  A few rhinestones and pearls finish the card.

Before I let you go, don't forget about our release day challenge and chance to win a $20 store gift code!

Our challenge is "Christmas in July"  Just add your card to the gallery using the linky tool below.  To be eligible for the prize, we ask that you create a new card (no back linking, please) and enter your card in no more than 3 challenges.  

Just a few guidelines to remember as you play:
            
- You don't have to use a Sweet 'n Sassy Stamps image to enter (although we sure love when you do!)
 - You'll have until Thursday, July 17th at midnight EST to enter

- We'll draw 1 winner from this week's challenge to receive a $20 credit to the Sweet 'n Sassy Stamps Store!  
If there are 50 participants, (not including the DT), we'll draw 2 winners!
- Please use code SNSJULYRC14 when uploading to Splitcoaststampers or other galleries 

To enter simply share a link to your creation below.

Thanks for joining us today!  Be sure to join us again on Friday, July 18th to see if you've won and to check out the next Friday Feature & Challenge!

Wednesday, July 9, 2014

A Patriotic Thank You

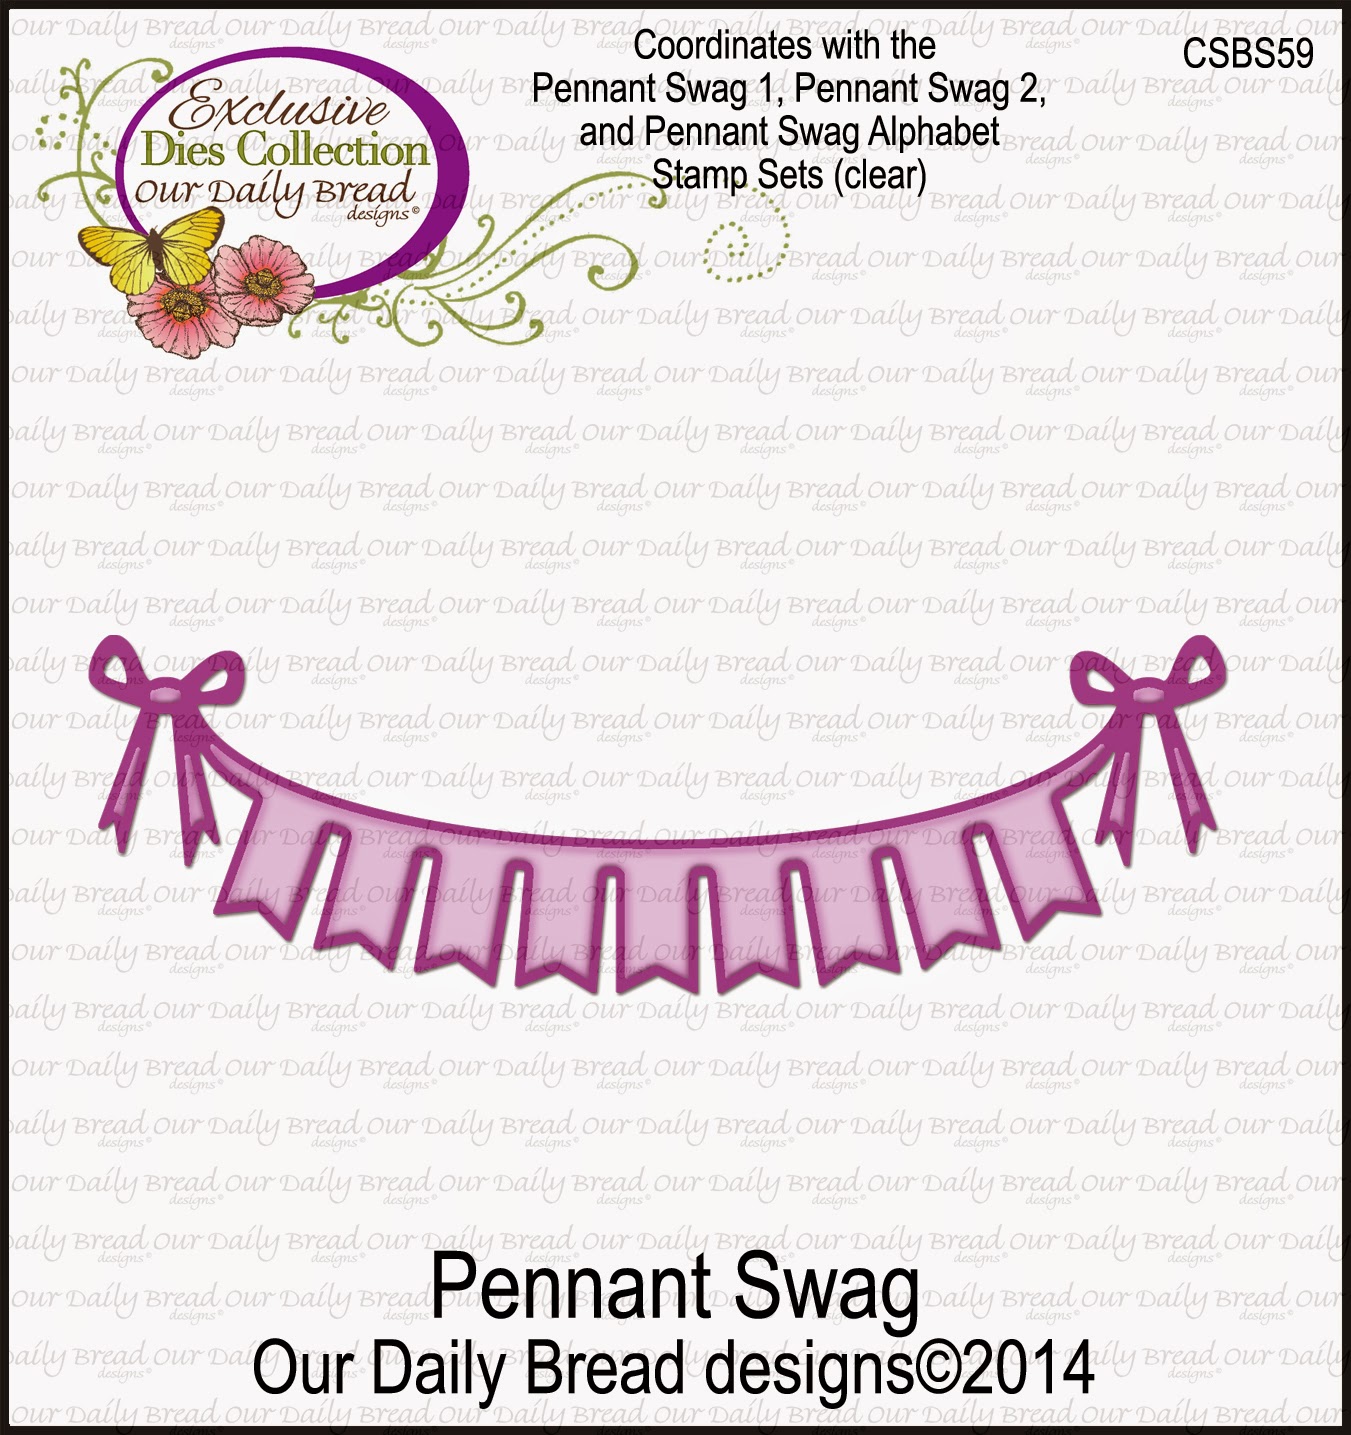
Hello, blogger friends!  I have a quick card to share with you today!  Every year my DH and I head over to my sister-in-law's family for a wonderful 4th of July picnic.  The food is always fabulous and this year the weather was just delightful…not hot and humid as usual…but pleasant and breezy!  Janette's sketch today on Splitcoaststampers was the inspiration, and the new Pennant Swag 2 stamp set and matching Pennant Swag Die just released by Our Daily Bread Designs helped to make the perfect patriotic thank you card for our relatives.


Creative Nugget:  The Old Flag Background was stamped three times...once on Real Red, once on Pacific Point, and once on Solar Crest card stocks.  The three panels were cut and stitched together to make the background which was then stitched to Real Red and mounted to a Solar Crest card base.  The white panel was embossed with stars to add to the patriotic theme.  Pennant Swag 2 was stamped in Pacific Point, cut with the matching Pennant Swag Die, and popped up on the embossed panel.   The Fancy Foliage and Asters and Leaves Dies were cut from left over pieces of the stamped background and added to finish the card.  

Every time I see red, white, and blue, I am reminded of how much God has blessed our nation and how thankful I am to live here!  Let's remember to pray for our country and for our leaders!

Here are the supplies from the 
Our Daily Bread Designs Store used to make this card:


This card will be entered in the following challenges:
Splitcoaststampers Sketch Challenge…SC487
Our Daily Bread Designs Shining the Light Challenge…Patriotic or Red White and Blue ODBDSLC209

Thanks so much for stopping by today!

Hugs,
Cathymac

Tuesday, July 1, 2014

Pennants Galore

Hello friends and welcome to the July Release by Our Daily Bread Designs!  Banners and Pennants and Dies…oh my! These fun stamp sets and dies can be used at any time and for any occasion!

Three winners will be randomly chosen from the comments left on the designers' blogs to receive a $15 Gift Certificate to the ODBD Store to be used toward the purchase of ODBD Stamps.  You have until July 2nd, 2014 at 9:00 p.m. EDT to leave your comments!  The winners will be posted on the ODBD Blog on July 3rd, so be sure to check back there to see if you won!


Here are the cards I created with Pennant Swag 2, Pennant Swag Alphabet, and other favorite stamp sets from the Our Daily Bread Designs Store:

Creative Nugget:  The Daisy Chain die cut over Daffodil Delight card stock made a perfect background for the word search made with the Pennant Swag Alphabet letters and the strawberries from the Canning Jar Fillers and the Garden Mini stamp sets.  The thank you banner from the Pennant Swag 2 set was added across the top and a Beautiful Border was placed under the berries.  All images were colored with Copic Markers.  A thick layer of Glossy Accents was added on top of the Canning Jar to make it look more like glass, and some baker's Twine tied around the jar was used to finish the card.

Creative Nugget:  A very good friend of mine just retired from teaching and she received some patio furniture from her coworkers, so I thought this beautiful Porch stamp would be perfect for her retirement card!  Pieces of Blushing Rose, (I must use every little bit of this gorgeous paper), and some embossed Kraft card stock were stitched together to make the background for this inviting porch scene. The images were colored with Copic Markers, and a Fence die cut and some Asters and Leaves die cuts were used as accents.  The Pennant Swag Alphabet letters were used to spell out the word "Retirememt" on the Pennant Swag die cut.  I did have to piece one extra pennant in the swag to stretch it a bit for the word to fit.  The little pearls were added to finish the card and to hide the seam where the extra pennant was added!  I just love how the little letters are perfect for creating a banner suitable for any occasion!

Here are the new stamps and dies from this release used to make these cards:


And other favorites used from the 


Be sure to check the Our Daily Bread Designs Blog for more yummy inspiration!  Here are the links to the super sweet and talented Design Team creations:


Julie * Grace * Chris * Lori * Cathy (ME) * Sandee  
Dawn * Angie * Lisa * Wanda * Audrey * Sabrina

Thanks so much for stopping by…enjoy browsing!

Hugs,
Cathymac